This is a simple technique to grungify a layer or layer grouping. It basically knocks a bunch of holes in the layer so that other layers can peep through. It uses layer masking and some basic Photoshop filters, and has plenty of room for experimentation.
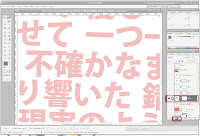
1. First off, on the layer (or layer group) you're interested in grungifying, you'll need to add a layer mask (not a vector mask, just a straight up layer mask.)
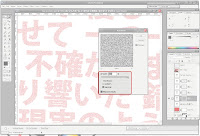
2. Add noise to the layer mask with the Noise filter. Crank it up to the max (400% in Photoshop 7) and make sure that you're using a Gaussian pattern and that the noise is Monochrome.
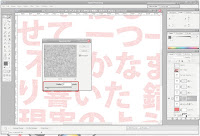
3. Blur the layer mask with the Gaussian Blur filter. The amount of blur you use will determine how patchy the grunge texture is as well as the size and distribution of the patches. Smaller blurs will result in speckled grunge. You probably don't want anything about 5px.
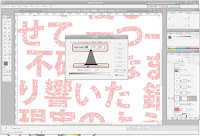
4. Adjust the layer's levels from the Image>Adjustments menu. You should see a hill figure, and 3 triangular sliders underneath. You'll want to concentrate all three sliders near each other, as this will create sharper edges on your grunge. If you concentrate the sliders near the left of the hill, you'll get sparse patches; if around the right of the hill you'll get dense patches. Adjust as you see fit.
5. Add some randomness to your grunge by using various Photoshop filters on the layer mask. You'll want filters that work well on black/white layers. Some good filters to start out with include most of the Brush Strokes filters, some of the Texture filters and some of the Sketch filters. Play around with their settings until you get something you like. You can apply multiple filters or none at all.
6. You're done!
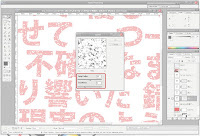
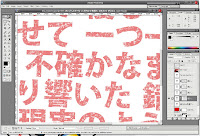
Screenshots of me applying grunge to a text layer (which ultimately did not make it into the final wall) based on the steps above, with areas of interest highlighted:
No comments:
Post a Comment